
How We Turned a Metal Shed Into a Chicken Coop
We started with a basic metal storage shed, built it in the garage, experimented with the inside, learned what didn’t work, and slowly turned it into a functional home for our hens.
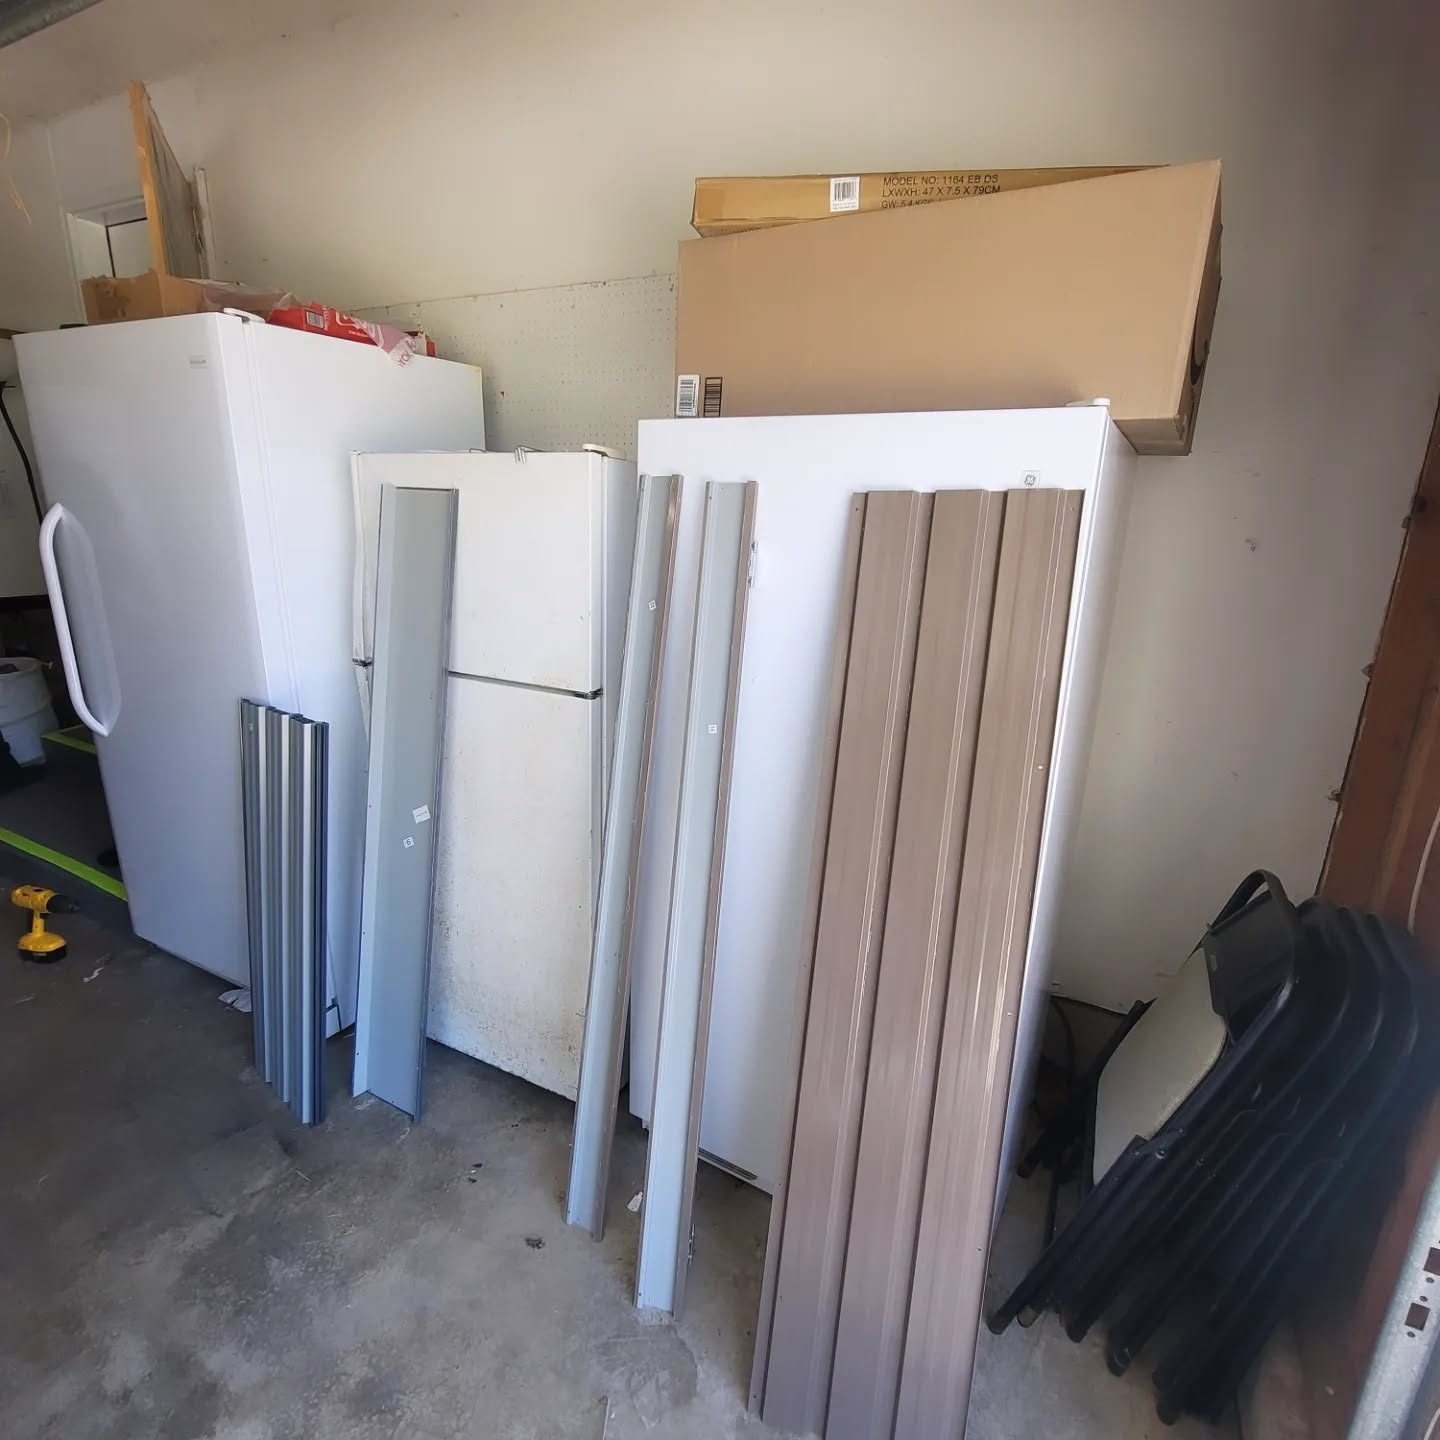
The shed panels and pieces before the build.
When we decided our hens needed a more permanent home, we didn’t start with a traditional wooden chicken coop. We started with a metal shed kit, a pile of parts in the garage, some lumber, and a plan that changed more than once.
That turned out to be one of the best things about this project. We didn’t need to have every detail figured out before we started. We built the shell first, watched how the space worked, and then kept adapting the inside to better fit our hens.
Why We Chose a Metal Shed 🌿
Traditional chicken coops can get expensive quickly, especially if you want something sturdy and roomy enough to last. A metal shed gave us the exterior shell right away, which meant we could spend our time customizing the inside instead of building an entire structure from the ground up.
- A weather-resistant exterior shell
- A full-size human access door
- Enough interior height to stand and work inside
- Room to add our own roosts and other features
- A structure we could continue changing over time
- Room to add upper ventilation across the front of the coop
AECOJOY 5′ × 3′ Metal Storage Shed
This is the actual shed we purchased and converted into our chicken coop. We liked having the exterior structure already handled so we could focus on making the inside work for our flock.
Affiliate link — I may earn a small commission at no extra cost to you. Prices and availability may change.
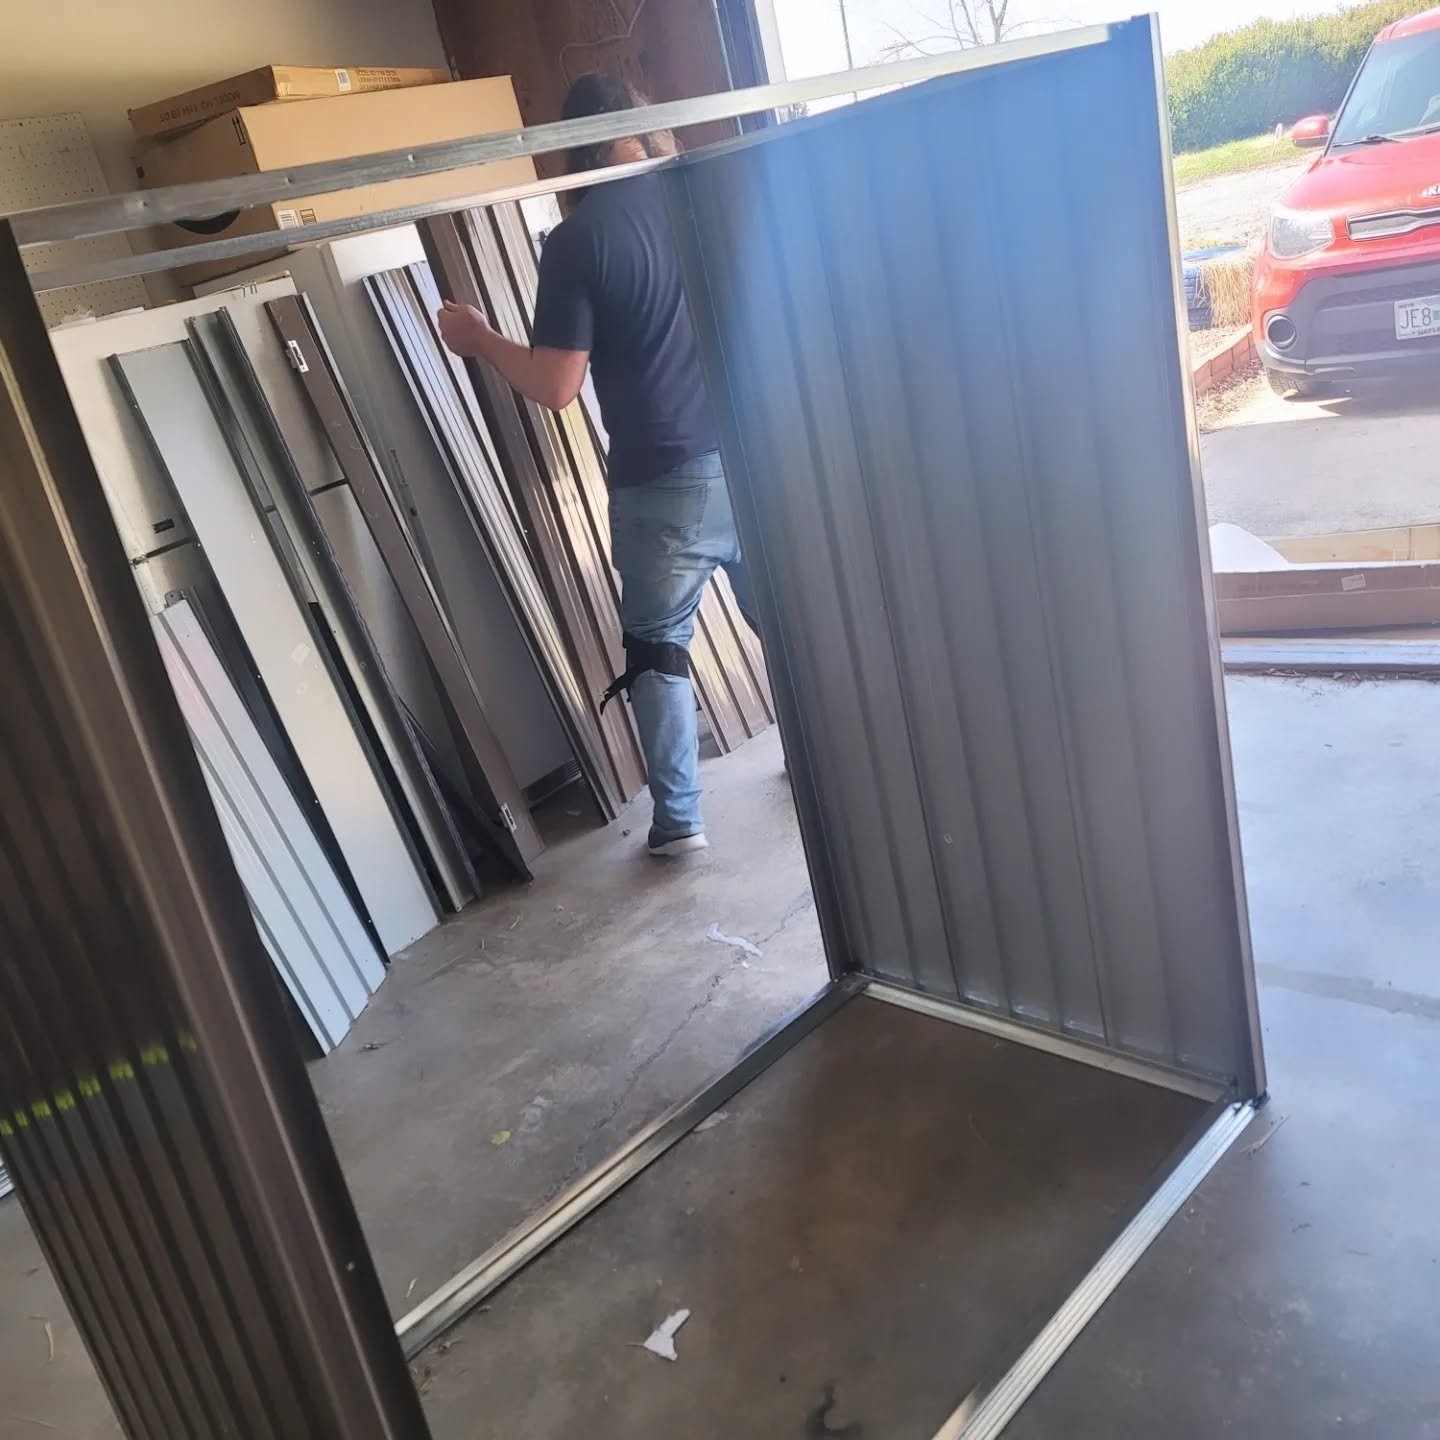
The shed frame and first wall panels going up.
Building the Shed First 🌿
The beginning of the project looked nothing like a chicken coop. There were metal panels leaning against appliances, framing pieces everywhere, tools on the floor, and a structure slowly starting to take shape.
We assembled the frame, added the wall panels, and then worked our way up to the roof. Once the roof was on, it finally felt like we had an actual building instead of a pile of parts.
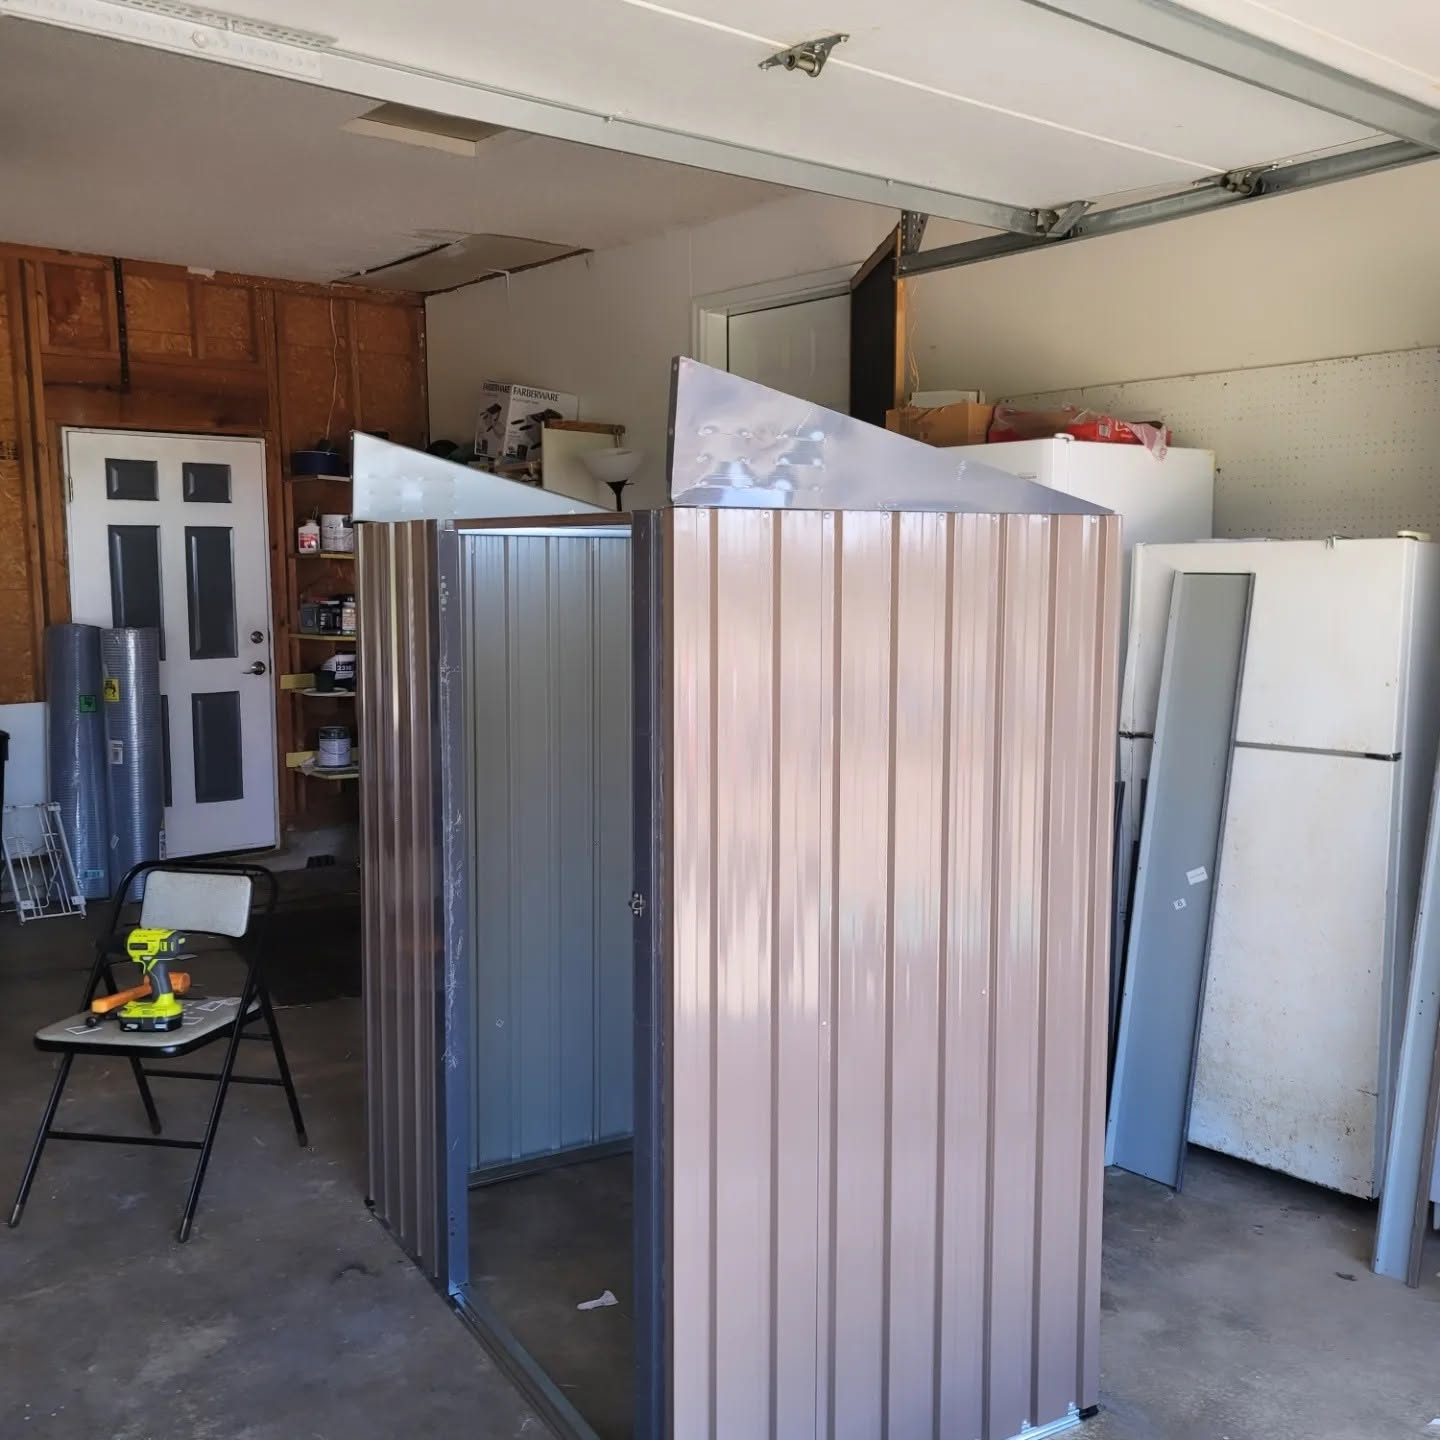
Completed shed exterior before the interior setup.
Turning an Empty Shed Into a Coop 🌿
The finished shed gave us a blank interior, but chickens obviously need more than four walls and a roof. We needed to create a roosting setup, add bedding, give the hens a smaller entrance they could use without keeping the main door open, and make sure the coop had ventilation rather than remaining a completely closed metal box.
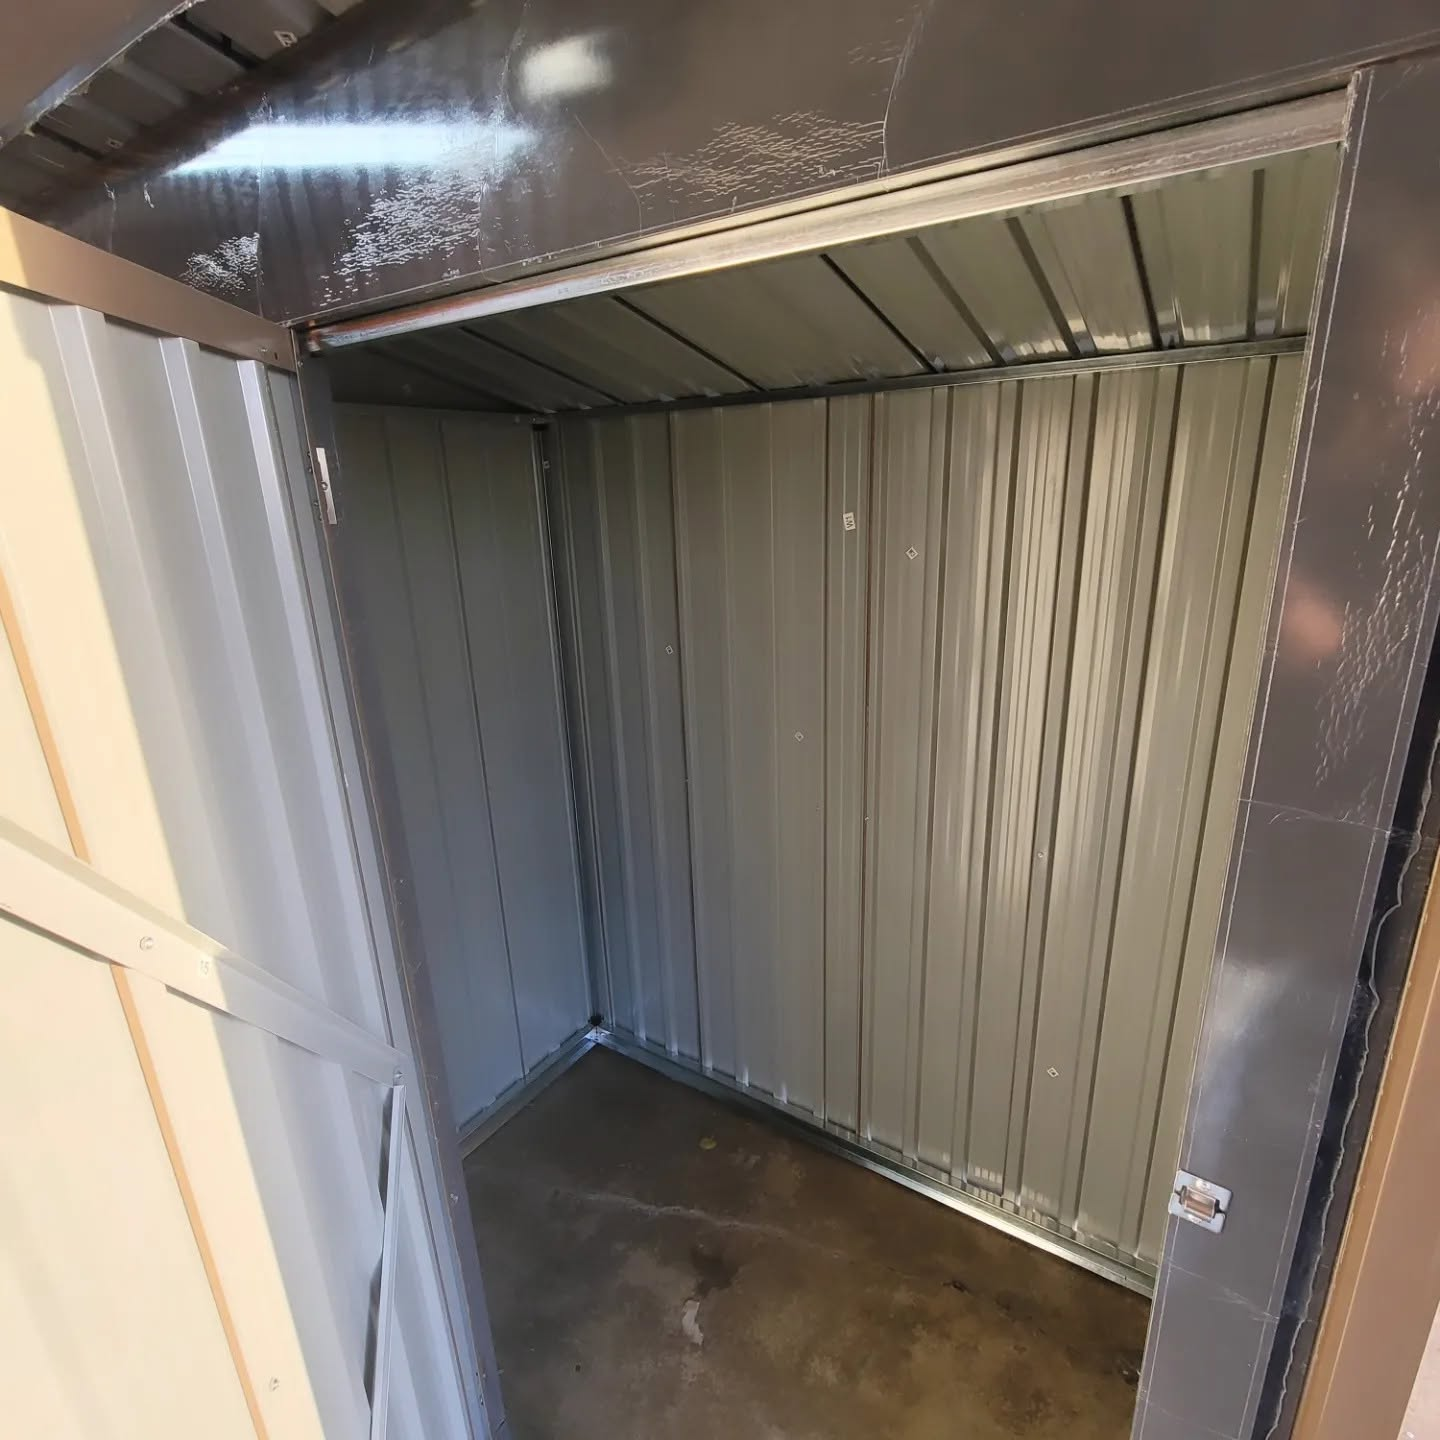
The empty shed interior.
Our First Roost Idea Didn’t Work 🌿
Our first idea was to use PVC pipe for the roosting bars. It seemed practical at first. PVC was inexpensive, easy to cut, easy to wipe down, and simple to attach to the wooden frame we built inside the shed.
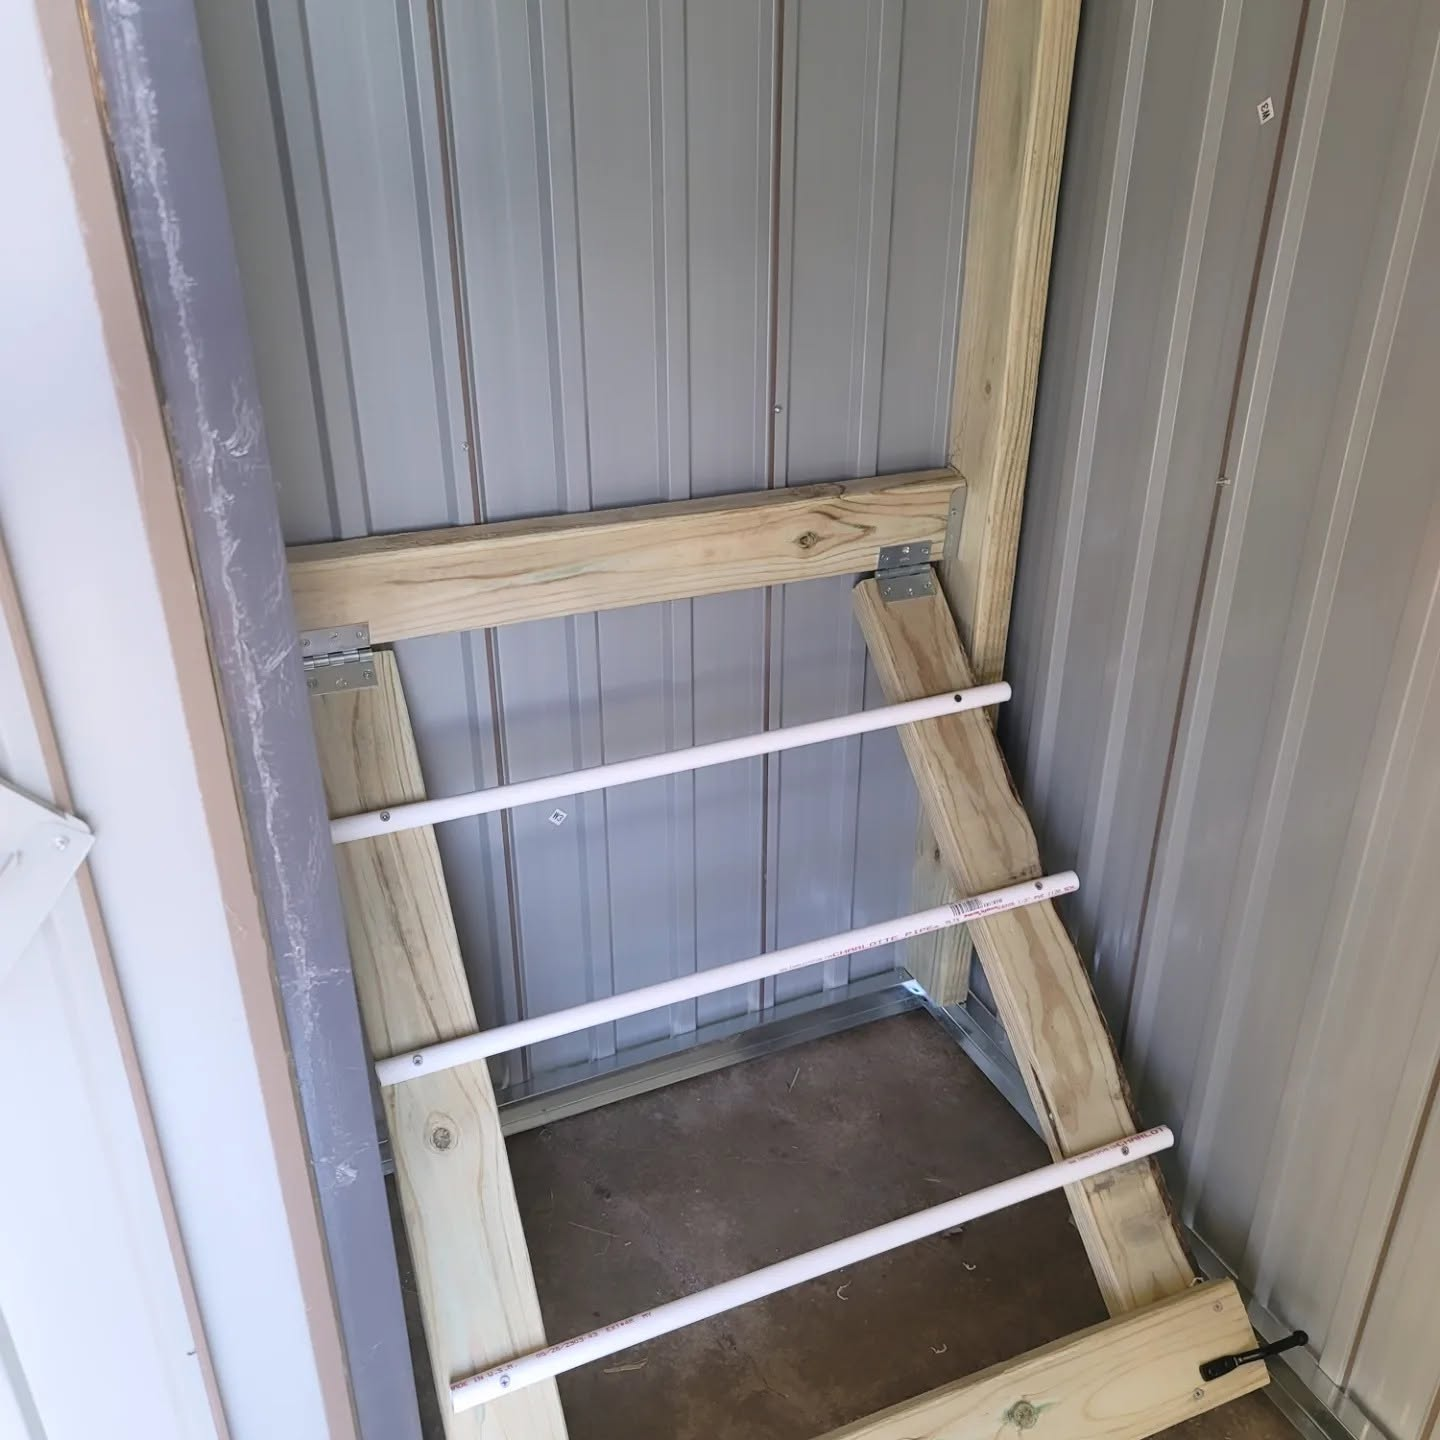
The first PVC roost setup.
But once we tried it, we realized it simply wasn’t working for our hens the way we wanted. The smooth round PVC did not give us the sturdy, more natural roosting surface we were looking for.
So instead of forcing the original idea to work, we changed it.
Why We Replaced the PVC With Wood 🌿
We kept the wooden support structure but replaced the PVC roosting setup with wood. That ended up being a much better fit for our coop and gave the hens a more solid surface to perch on.
This part of the project probably taught us the most important lesson of the entire conversion: the first version does not have to be the final version.
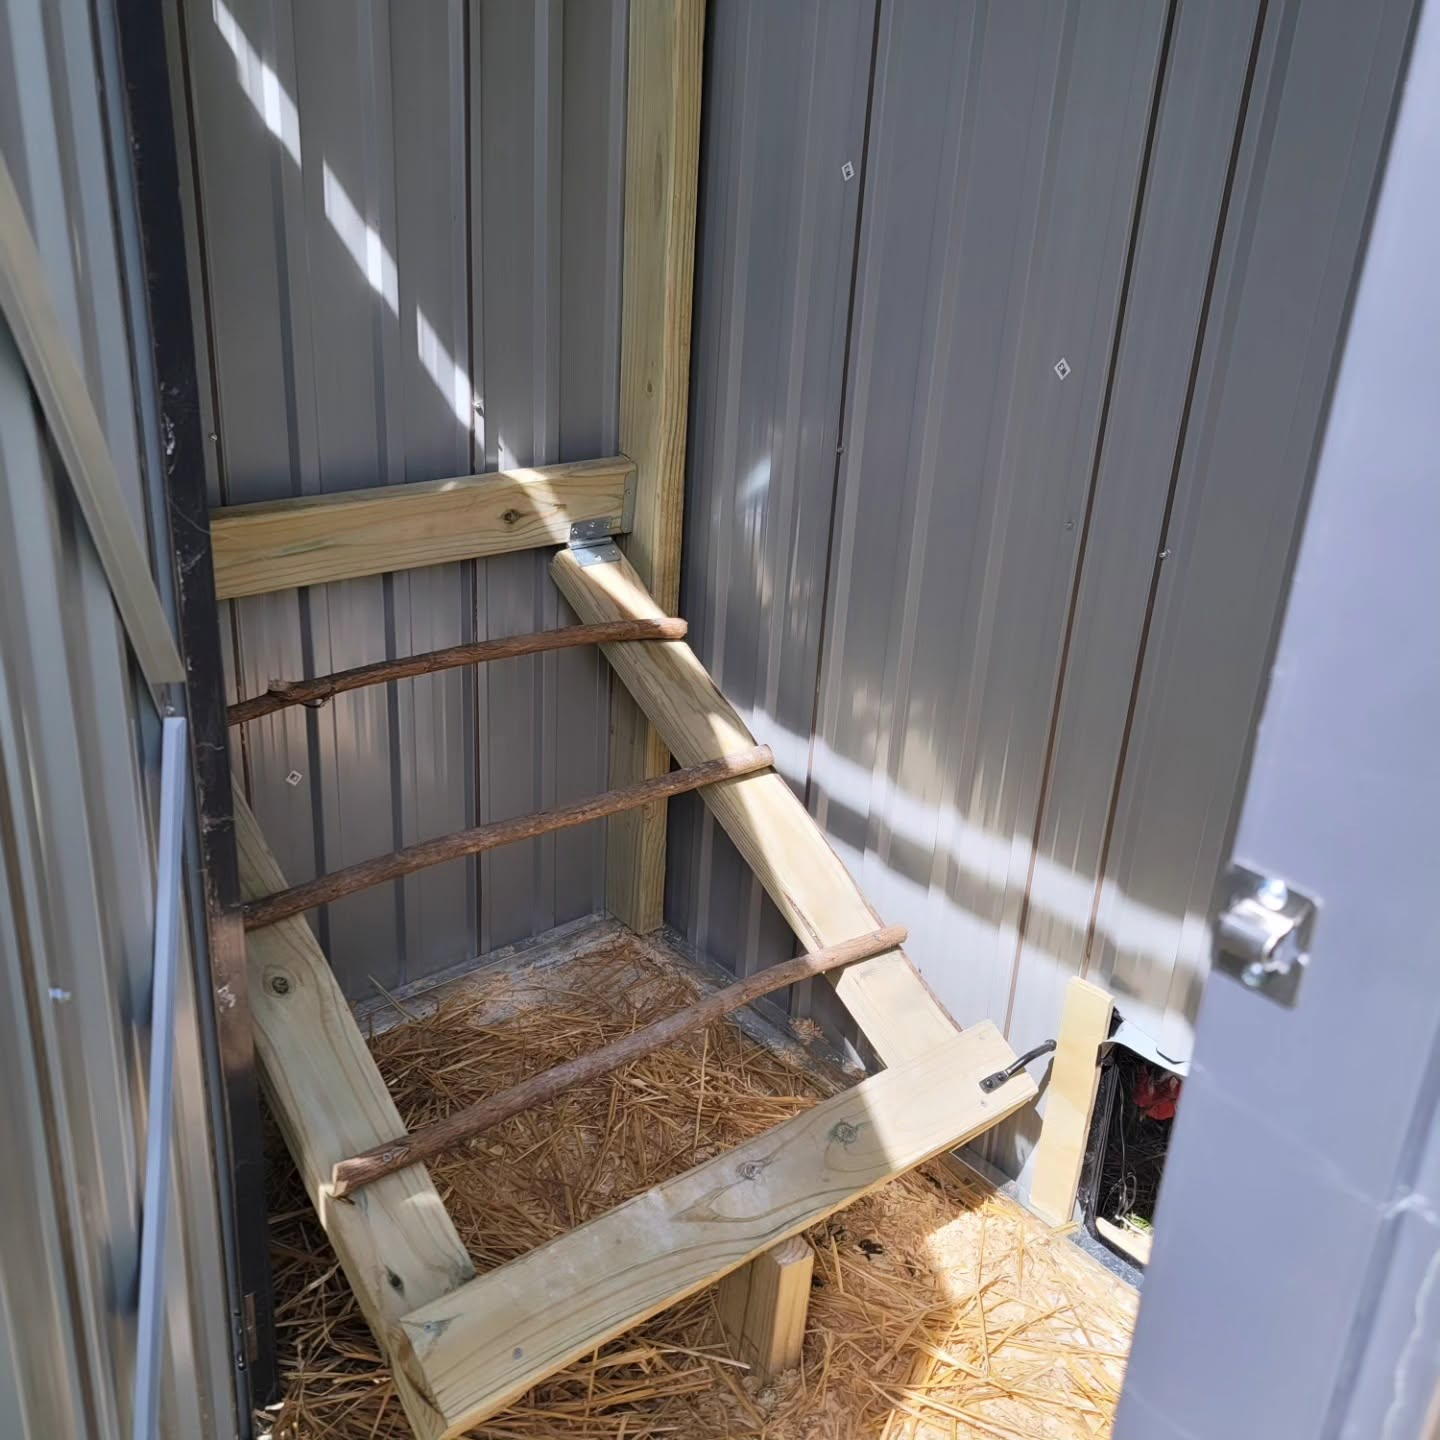
The updated wood roost frame.
Adding Bedding and a Chicken-Sized Entrance 🌿
Once the inside structure was in place, we added bedding to the floor and created a smaller opening near the bottom of the wall so the hens could move in and out without needing the full-size shed door open.
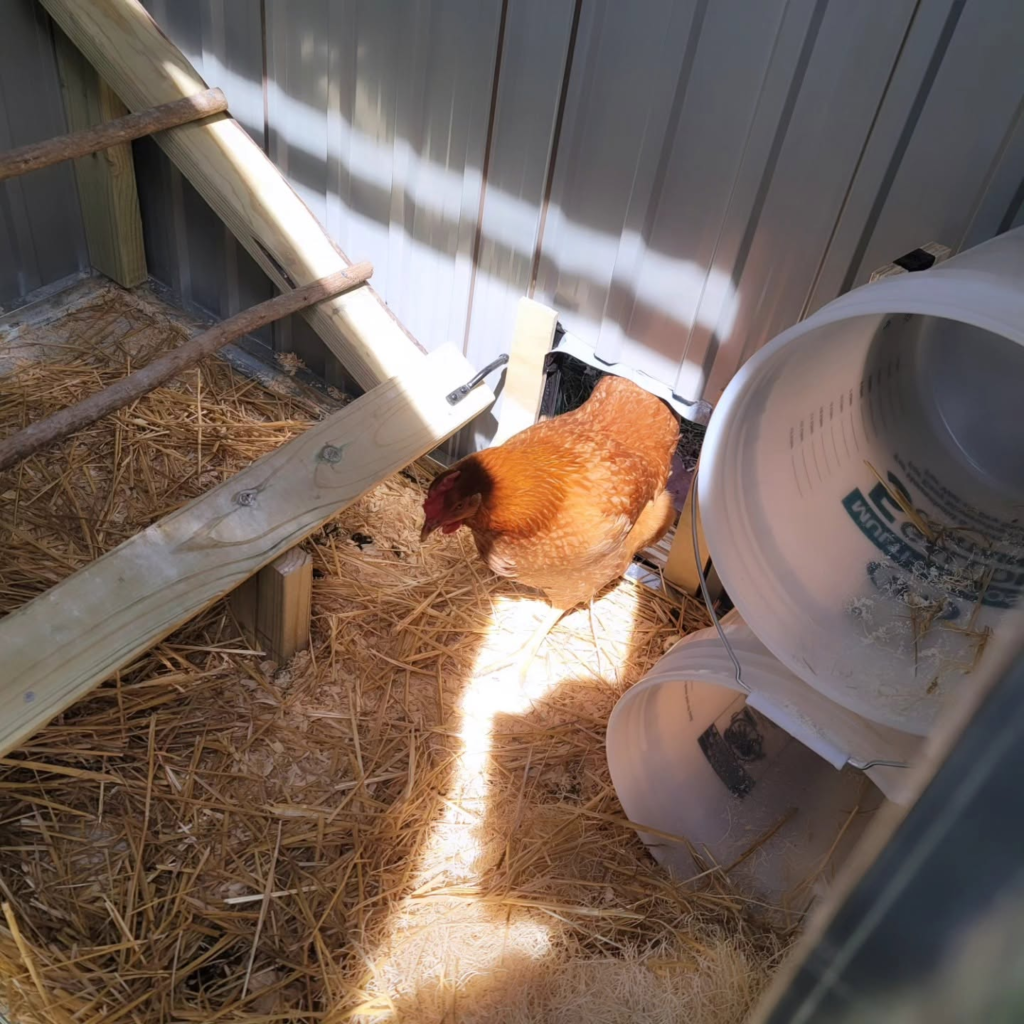
Seeing a hen actually use that entrance was the point where the project stopped feeling like a storage shed and started feeling like their coop.
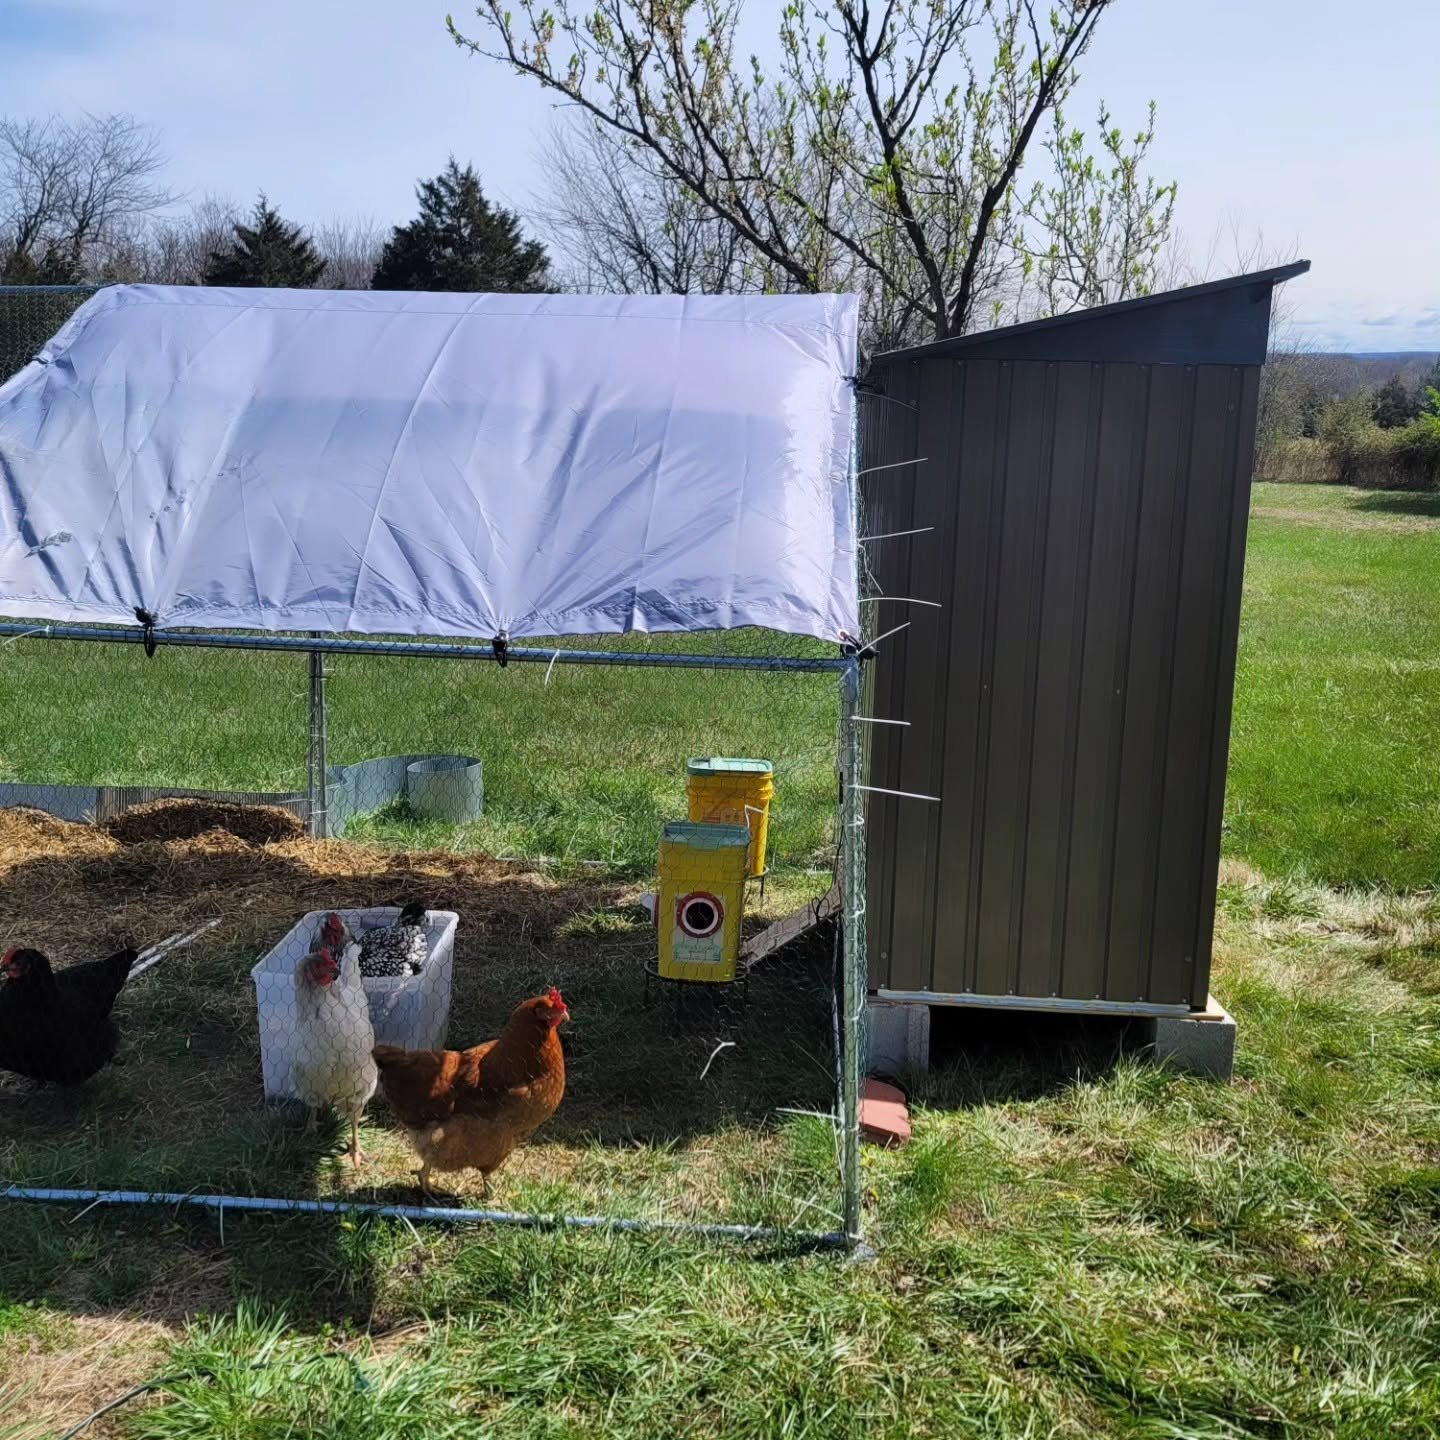
The finished Coop.
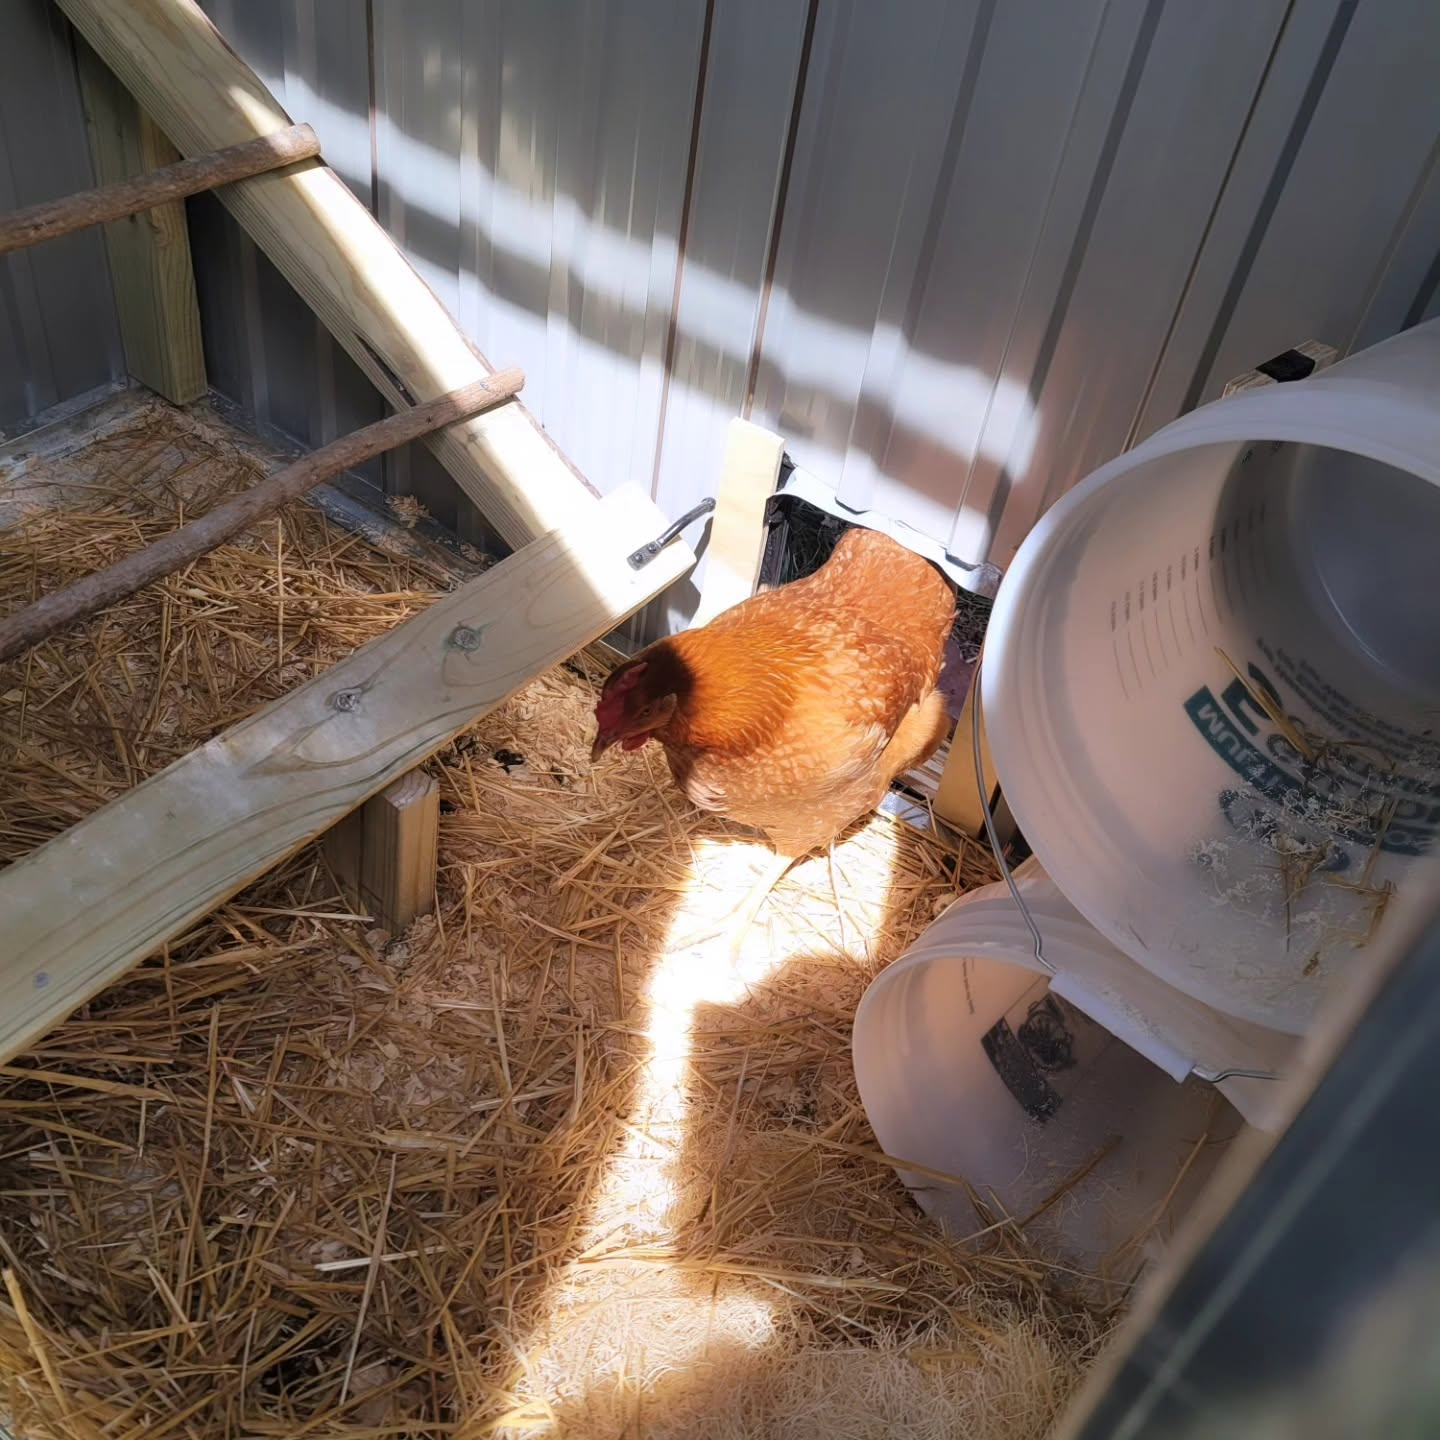
One of our hens inside or using the small entrance.
What We Like About the Metal Shed Setup 🌿
- It gave us a blank canvas. We were able to decide where the roosts and other features should go.
- The full-size door makes cleaning easier. We can actually step inside instead of reaching through a tiny access panel.
- It feels substantial. The finished setup feels more like a small outbuilding than a lightweight prefab coop.
- We can keep changing it. That matters because chickens have a way of showing you what works and what doesn’t.
Things We’d Think About Before Doing It Again 🌿
Ventilation
Because this is a metal shed, airflow was something we knew we needed to address. We added a long ventilation opening across the upper front of the coop, just below the
roof line
, and covered it with mesh. The high placement gives warm, humid air a place to escape while still keeping the main coop enclosed.
For us, this was an important part of turning a storage shed into a space meant for chickens rather than simply using the shed exactly as it came.
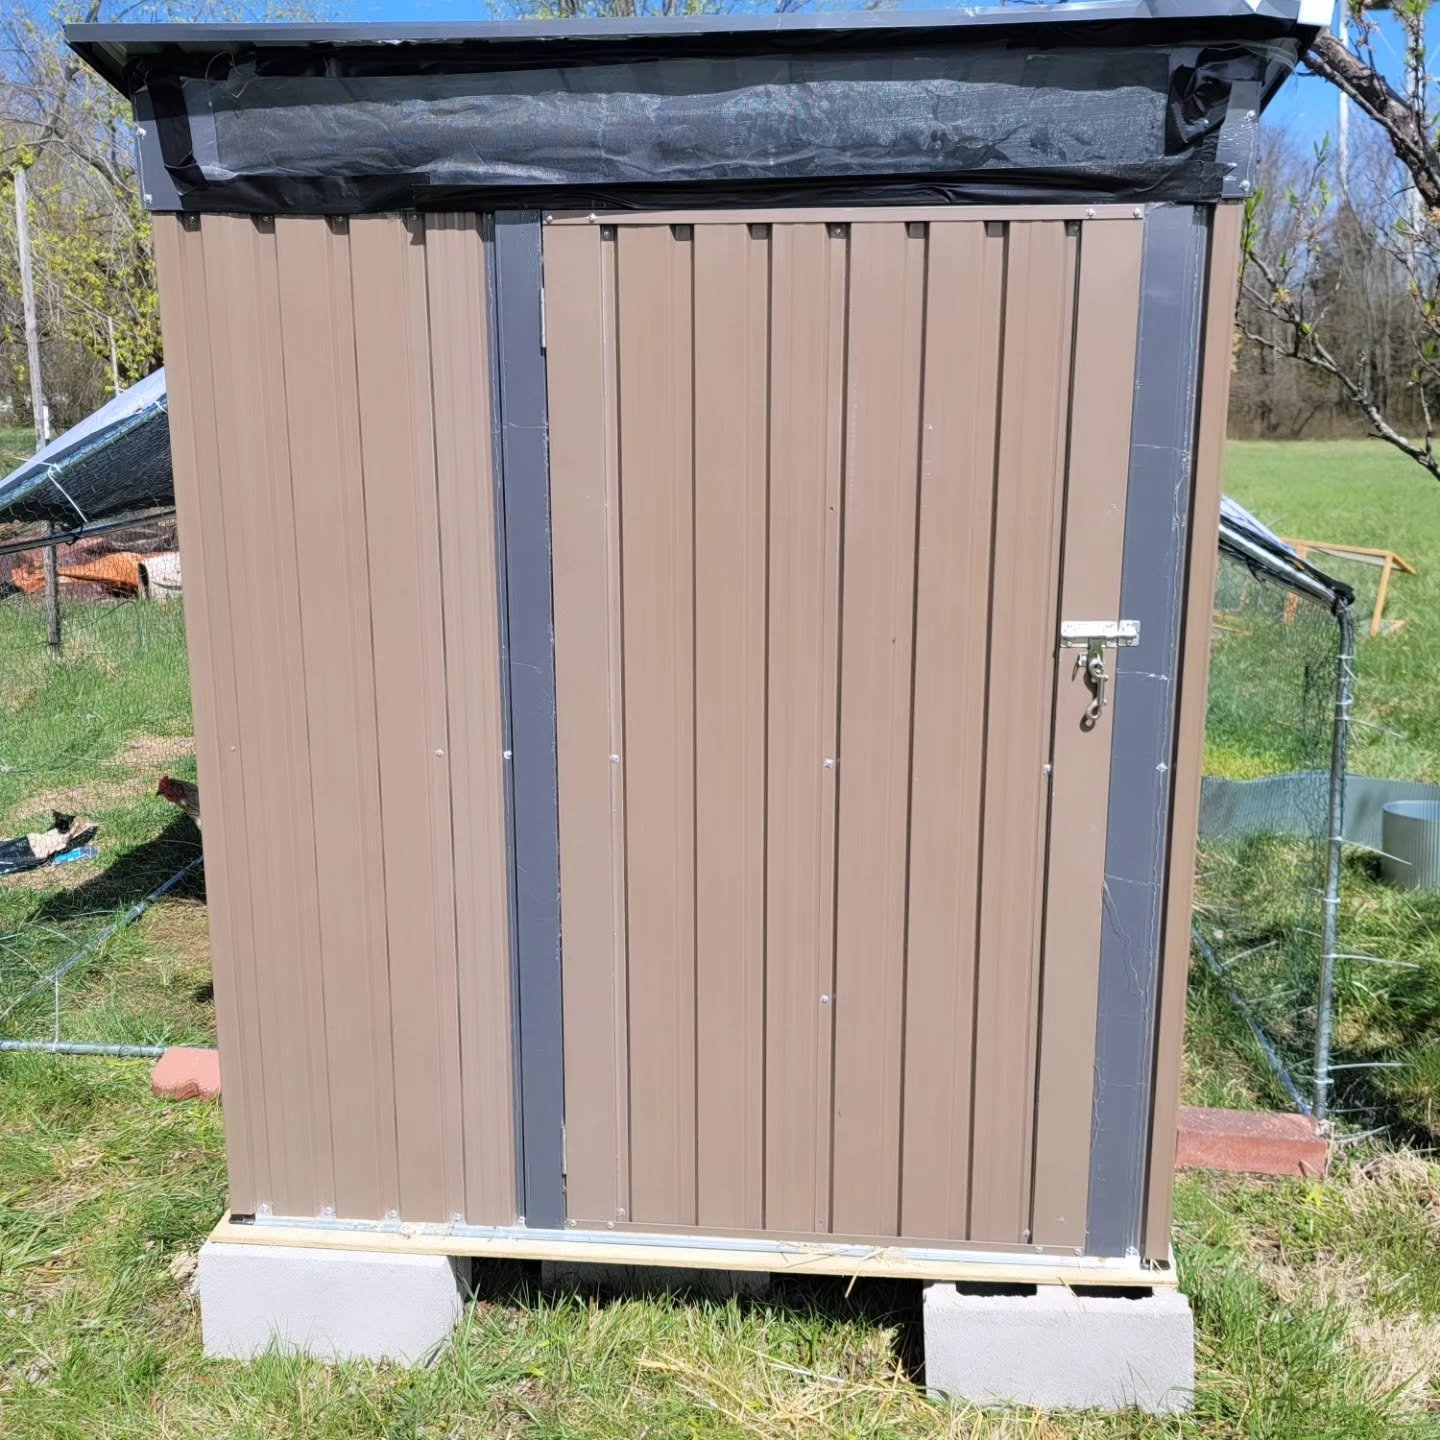
The ventilation opening we added across the upper front of the coop.
Summer Heat
Metal can still heat up quickly in direct sun, so the upper ventilation opening is only one part of our warm-weather plan. Shade, airflow around the coop, where the shed is positioned, and keeping an eye on the hens during hot weather all still matter.
Predator Protection
Any opening added for chickens or ventilation should also be evaluated for predator access. A convenient chicken door can become an unwanted entry point if it is not secured properly.
Plan to Make Changes
We would absolutely expect the setup to evolve. The PVC roost experiment is a good example. Sometimes you only know what needs changing after you see your hens actually use the space.
Would We Build a Chicken Coop From a Metal Shed Again? 🌿
Yes.
The shed gave us the exterior structure, and we were able to put our energy into customizing the interior for our hens. More importantly, it gave us room to experiment and improve the setup instead of feeling like every decision had to be permanent.
We assembled the shed. We built the interior frame. We tried PVC roosts. They didn’t work for us, so we replaced them with wood. We added bedding, created a chicken entrance, and eventually had a hen standing inside a structure that had started as a stack of metal panels in our garage.
That is a pretty satisfying transformation.
What We’ll Add Next 🌿
Like most homestead projects, we don’t really consider this one permanently finished. We’ll keep adjusting the setup as we learn what works best for our flock.
We’ll also share the feeders, waterers, bedding, hardware, and other chicken-keeping products we actually use as we continue improving the coop.
Because sometimes the best chicken coop isn’t the one you buy already finished. Sometimes it starts as a metal shed and becomes exactly what your flock needs.
Pingback: - The Hip Little Garden